Photos by Micah Stenson
Converting your wheels to tubeless can be intimidating but the advantages are many. You’ll end up with a better feeling, lighter and more supple tire that is more resistant to punctures. My 6 year old recently asked if we could convert the tires on his Specialized Riprock to tubeless. I said we’d give it a shot. Here’s the process that we followed:
Gather Your Supplies
You’ll need a few items to get rolling with a tubeless conversion. Here’s a parts list of what you’ll need.

Pedros Tire Lever
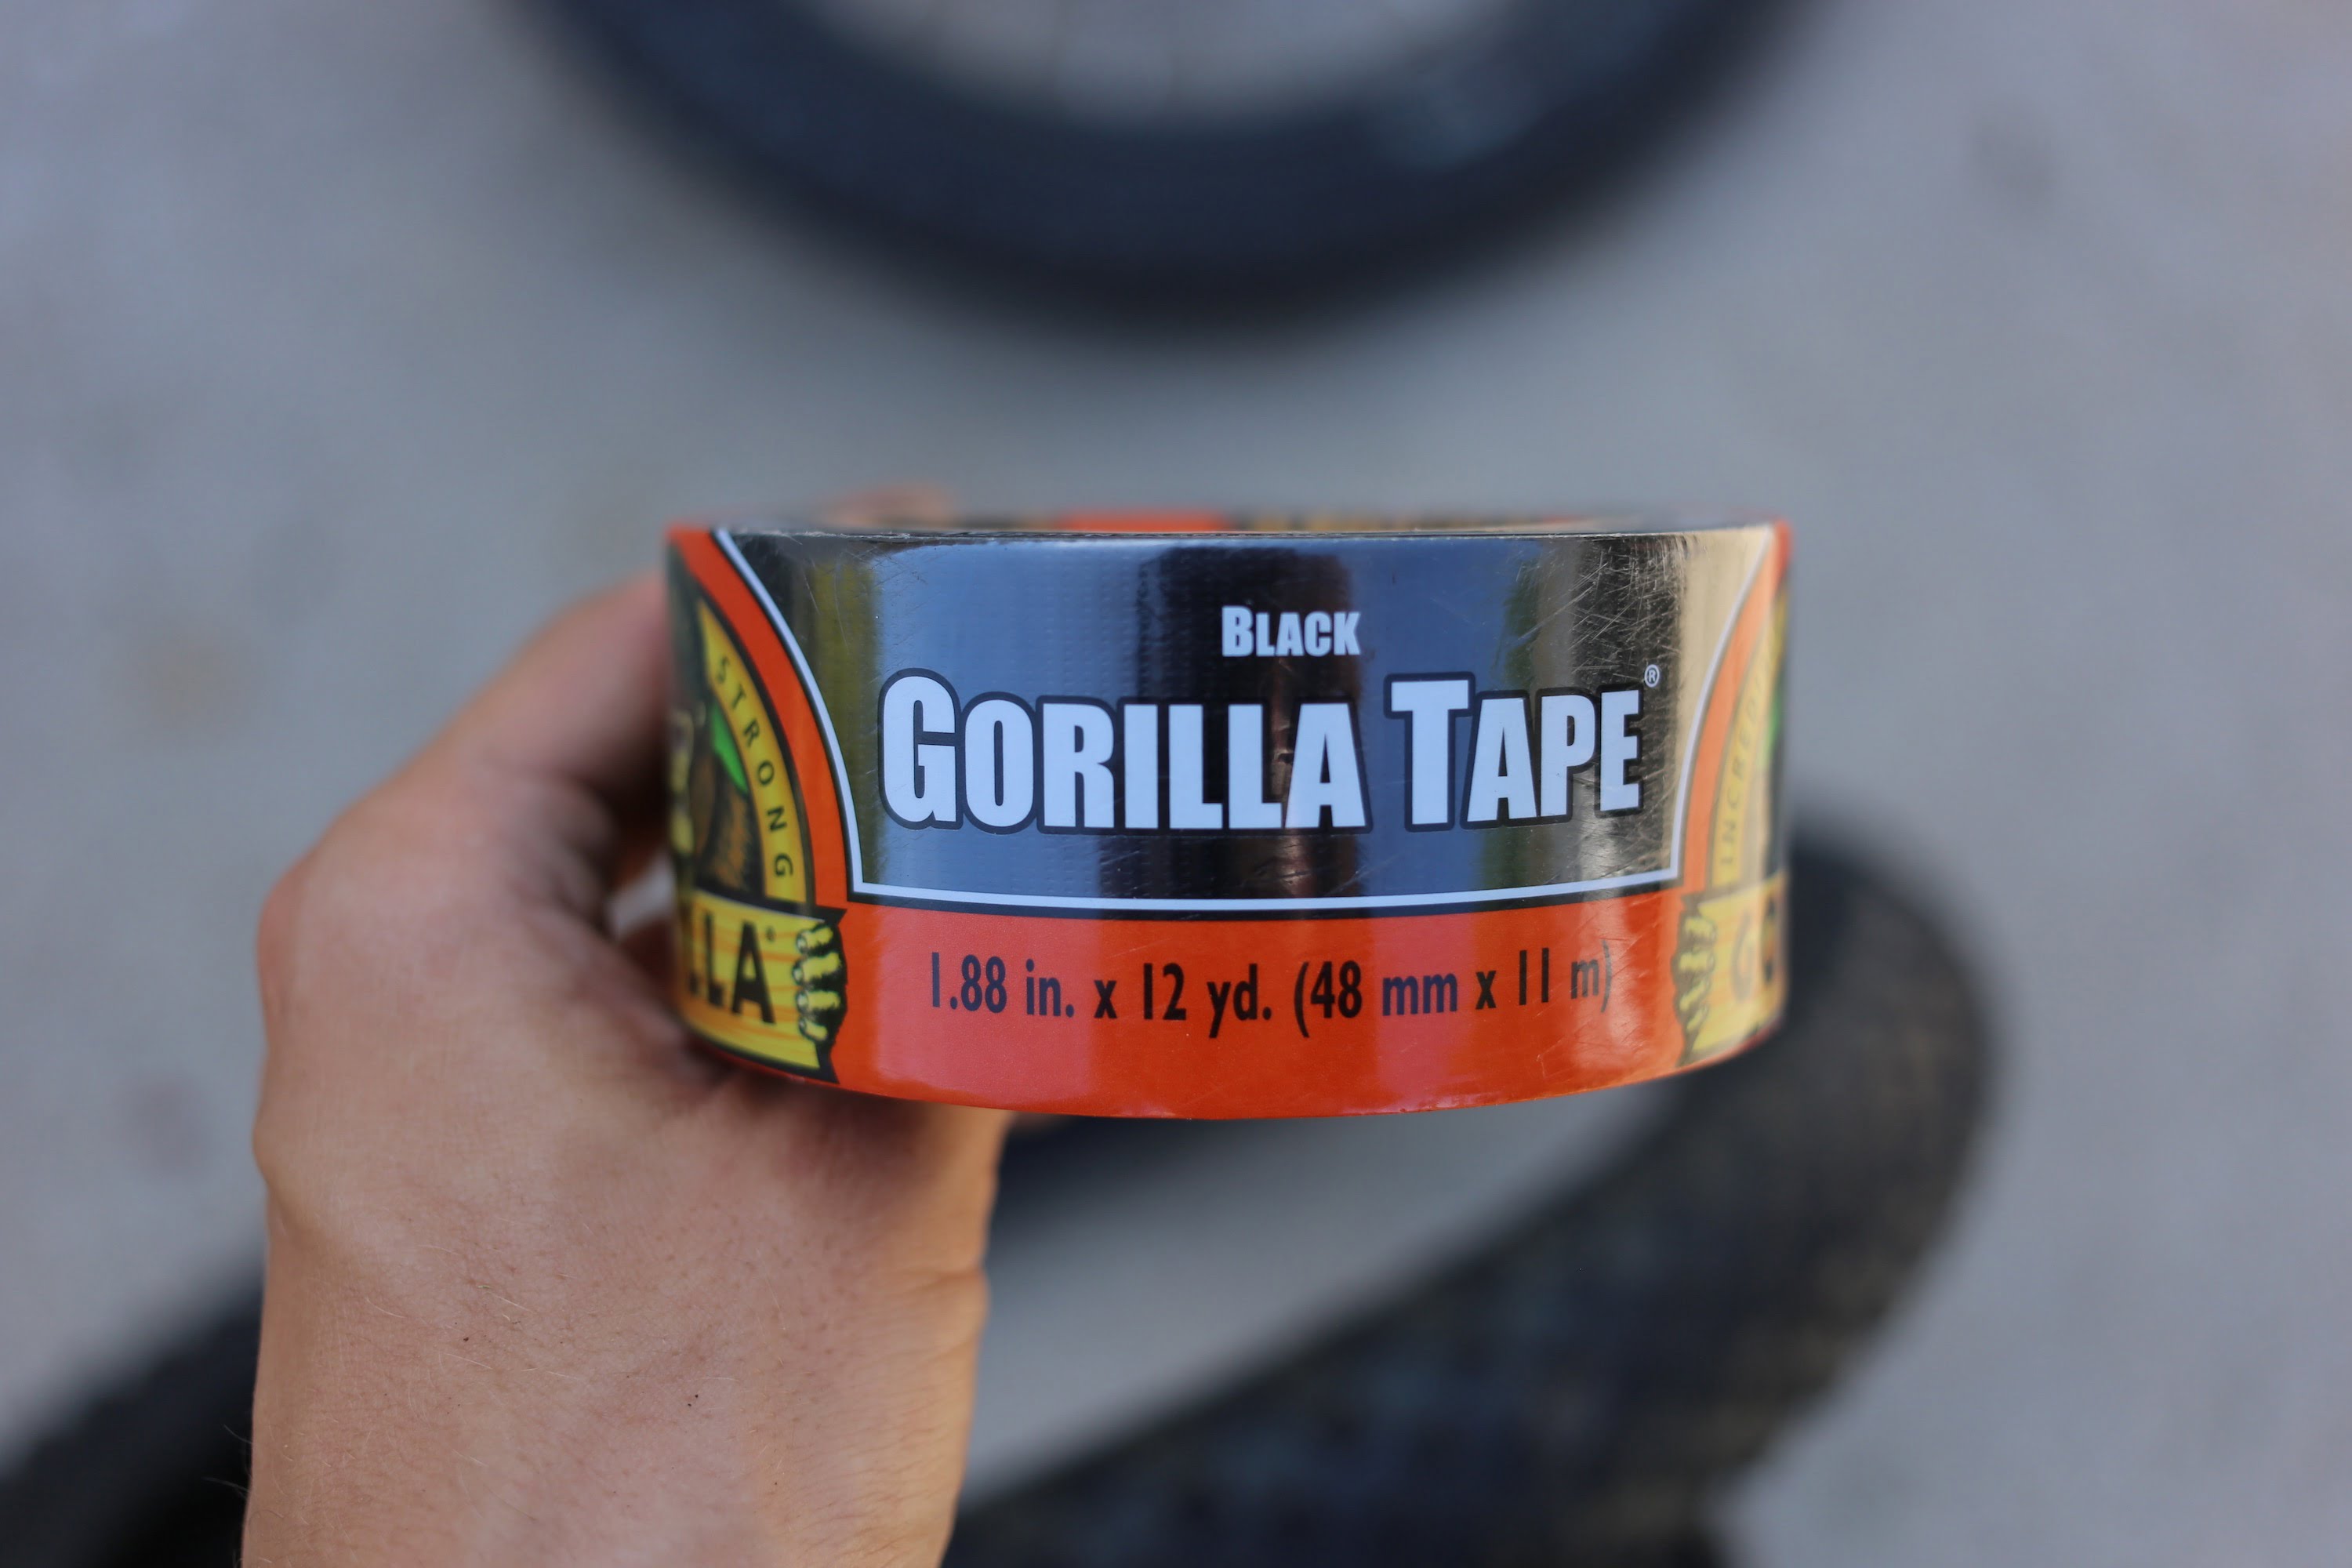
Gorilla Tape
Revmega Tubeless Presta Valve Stem
1. Remove Wheels From The Bike
It may sound obvious but removing the wheels from the bike is mandatory for this operation since we will be removing the existing tubes and rim strips.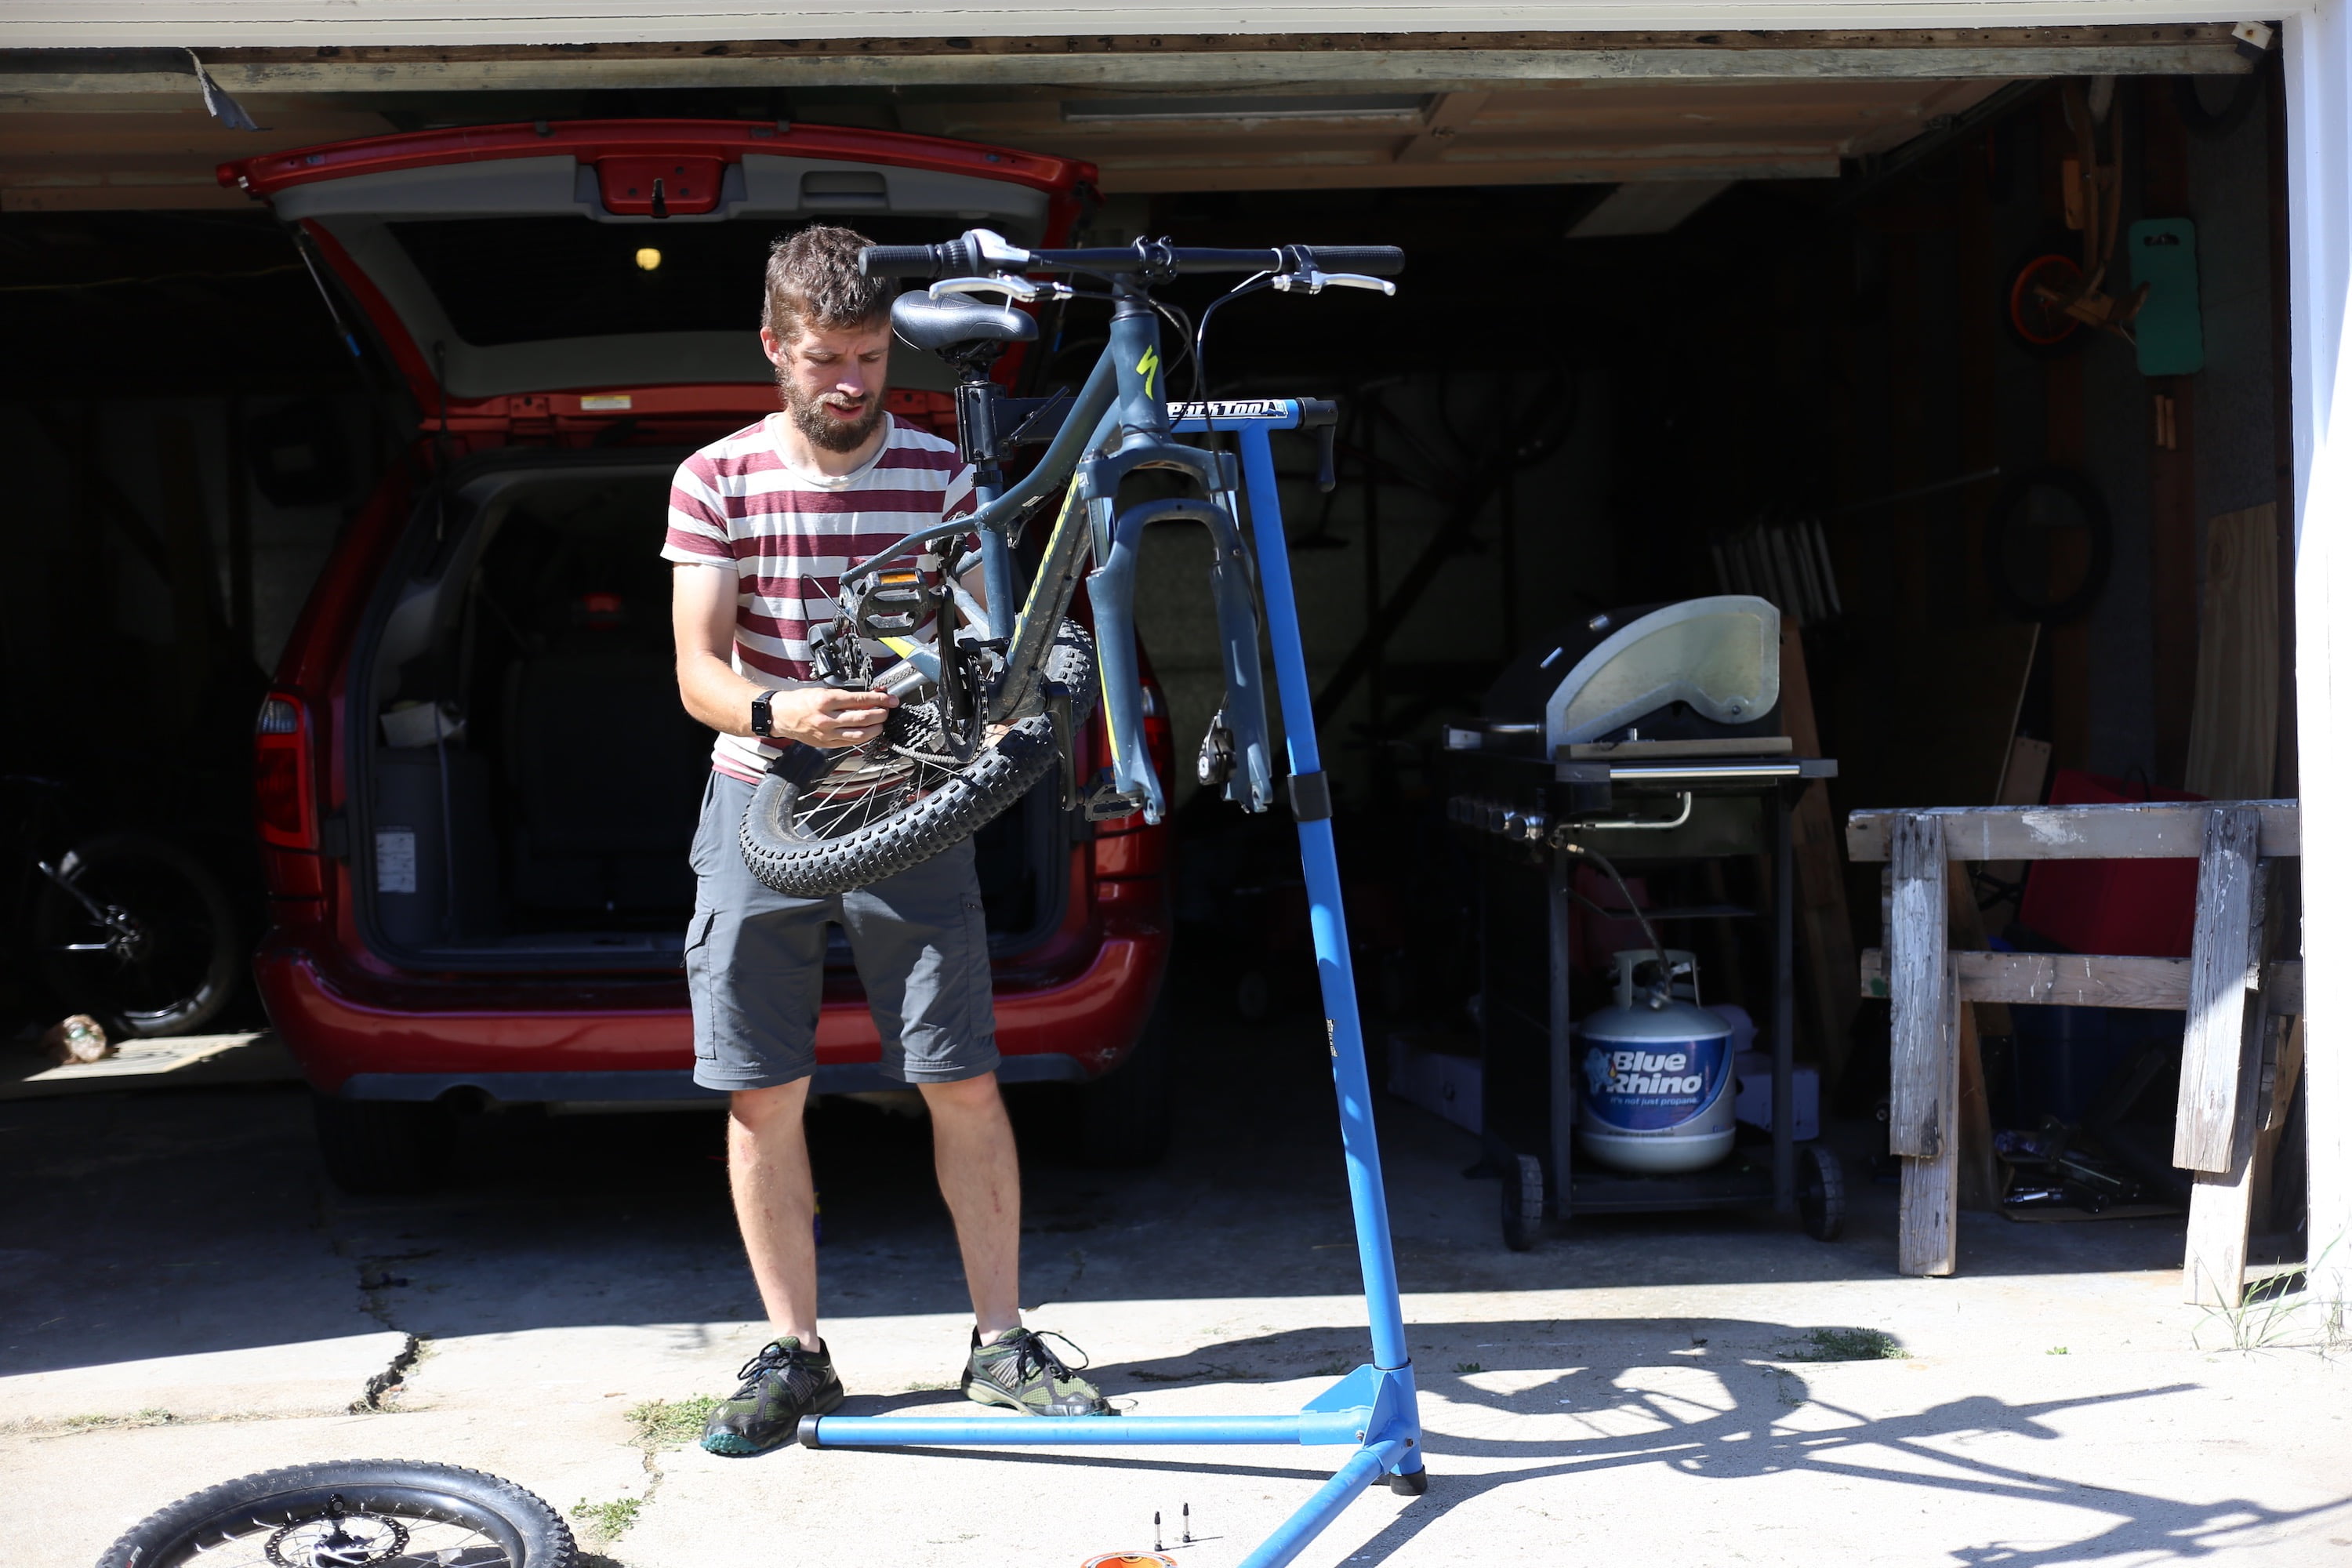
2. Remove the Tubes and Rim Strips
First deflate the tubes and then removed tires from the rims. A good pair of tire levers, such as Pedro’s tire levers may come in handy here.

3. Prepare and Apply Gorilla Tape
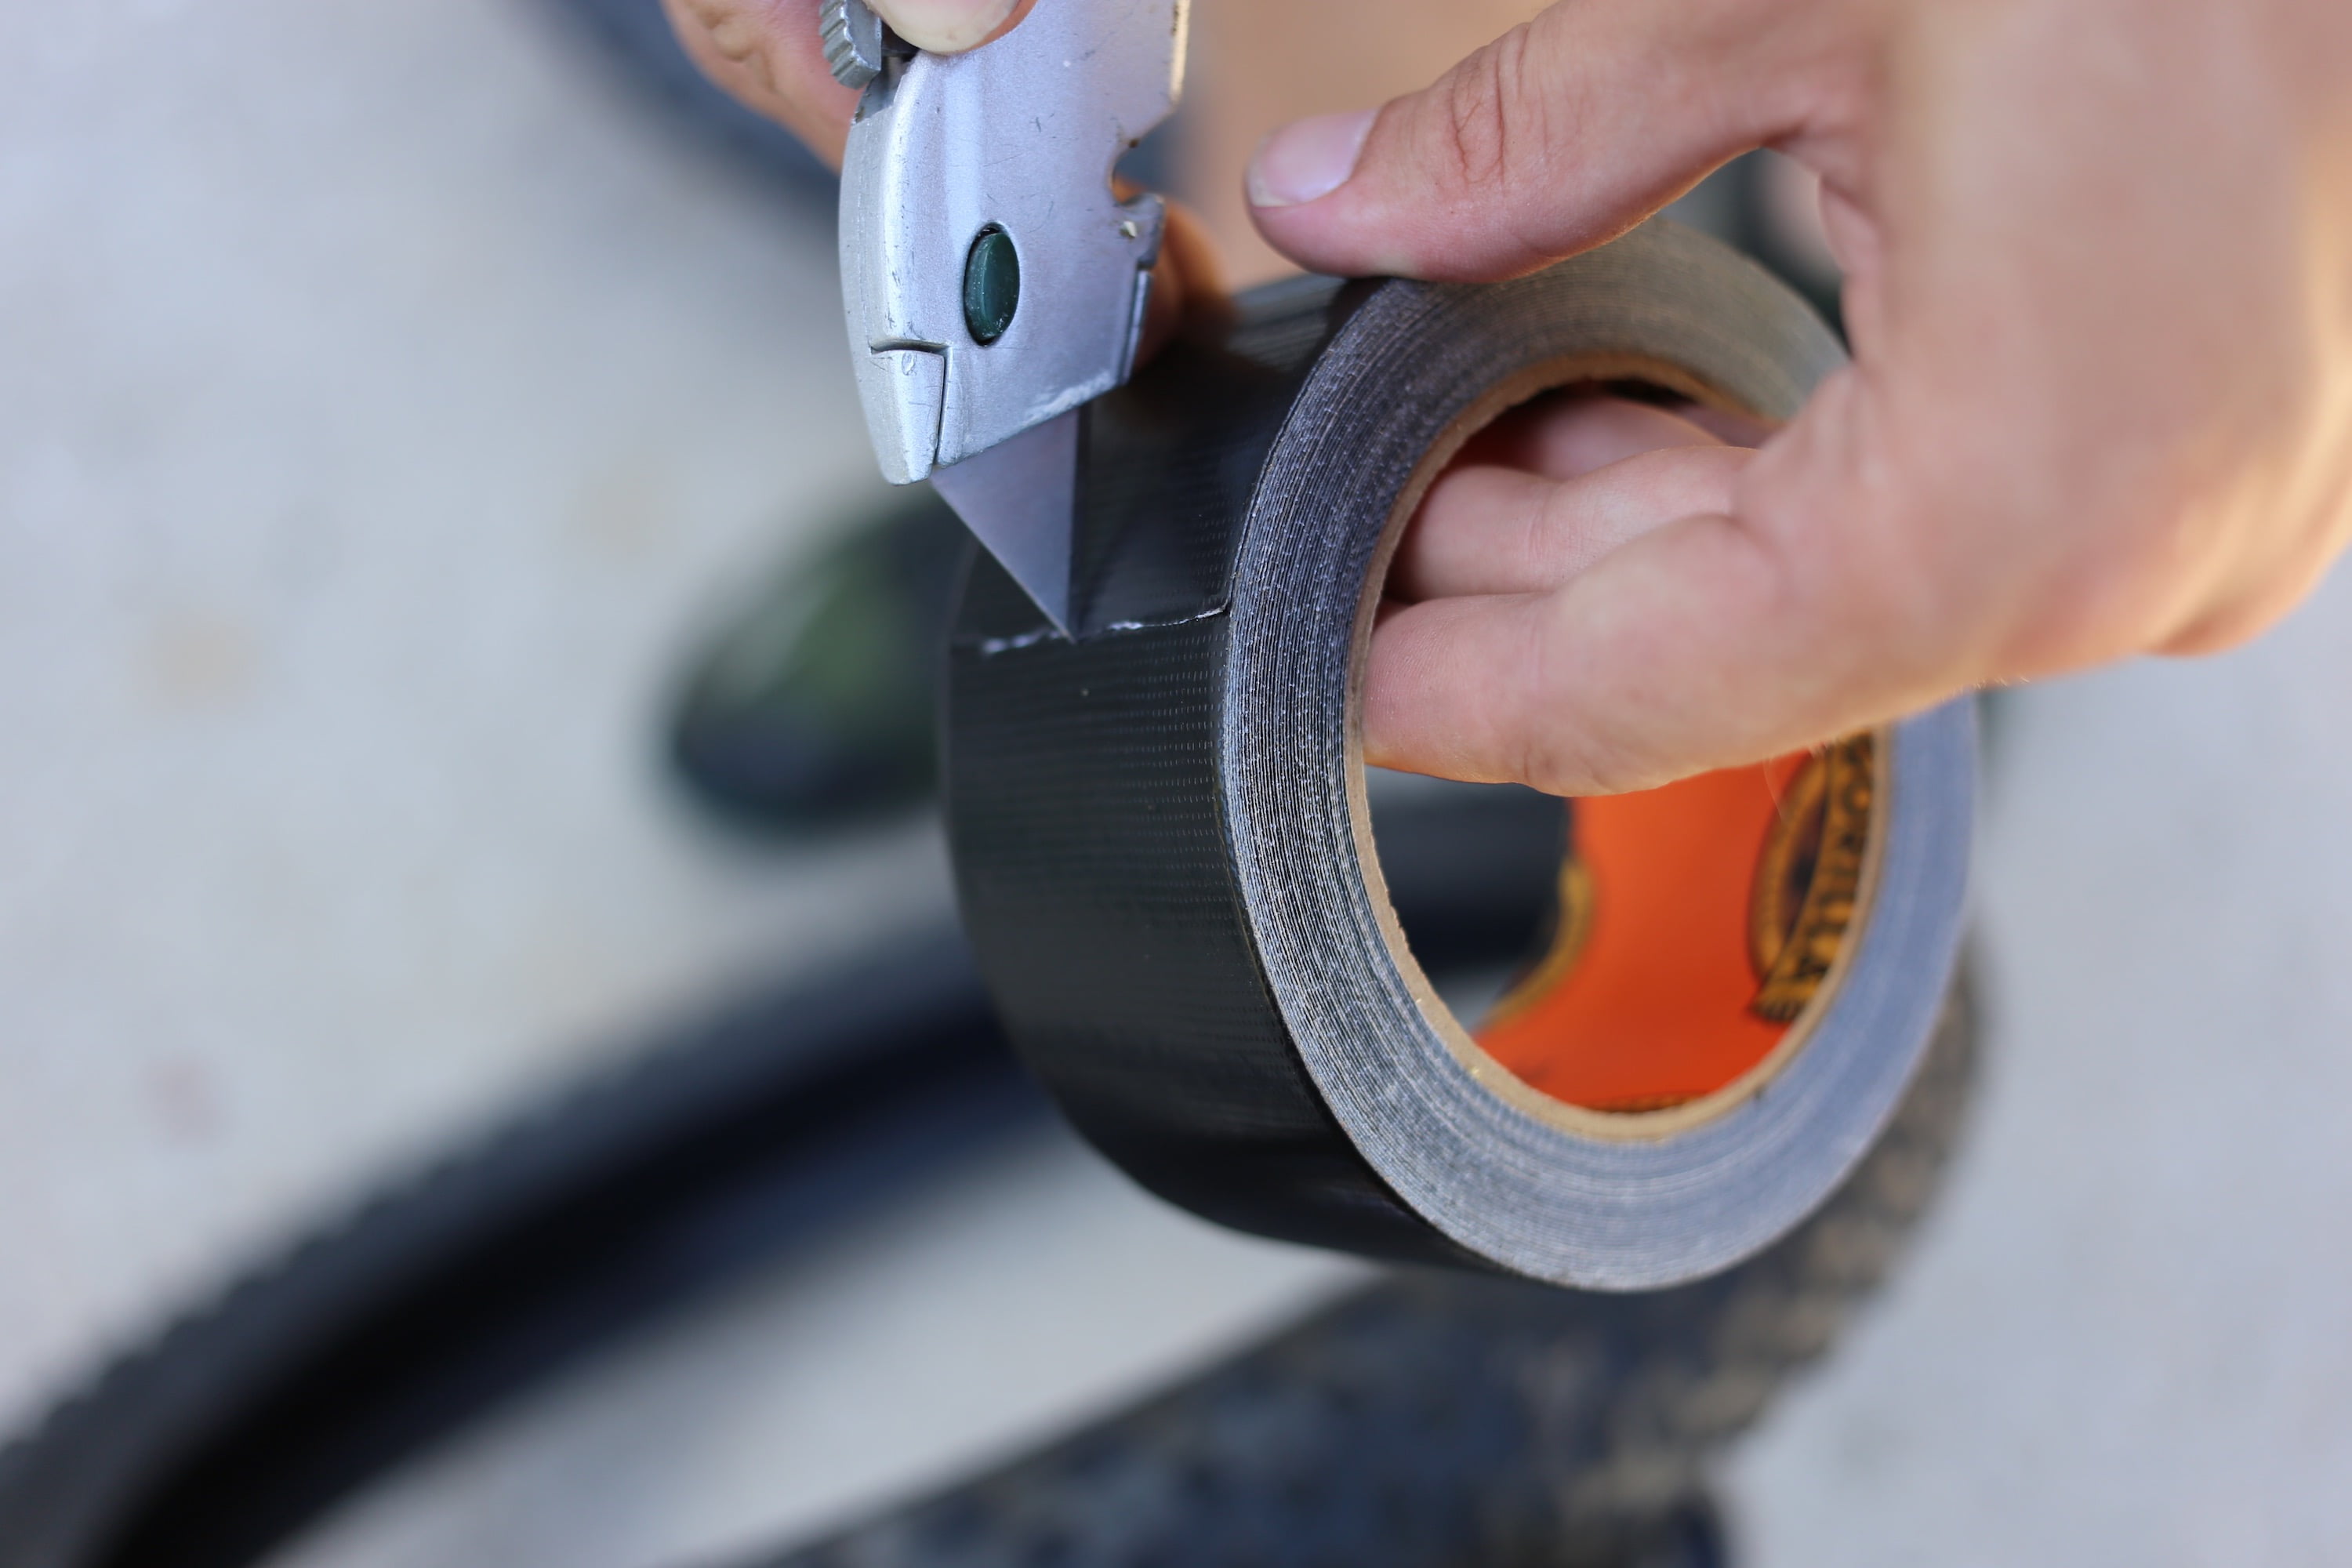
Your Gorilla Tape may or may not come in the right width for your particular wheel. What we need to accomplish with the Gorilla Tape is to cover all of the holes that are in the rim from where the spokes attach to the rim. I needed to cut my Gorilla Tape down which was accomplished with a razor blade. I found this much easier to do before unrolling the tape.
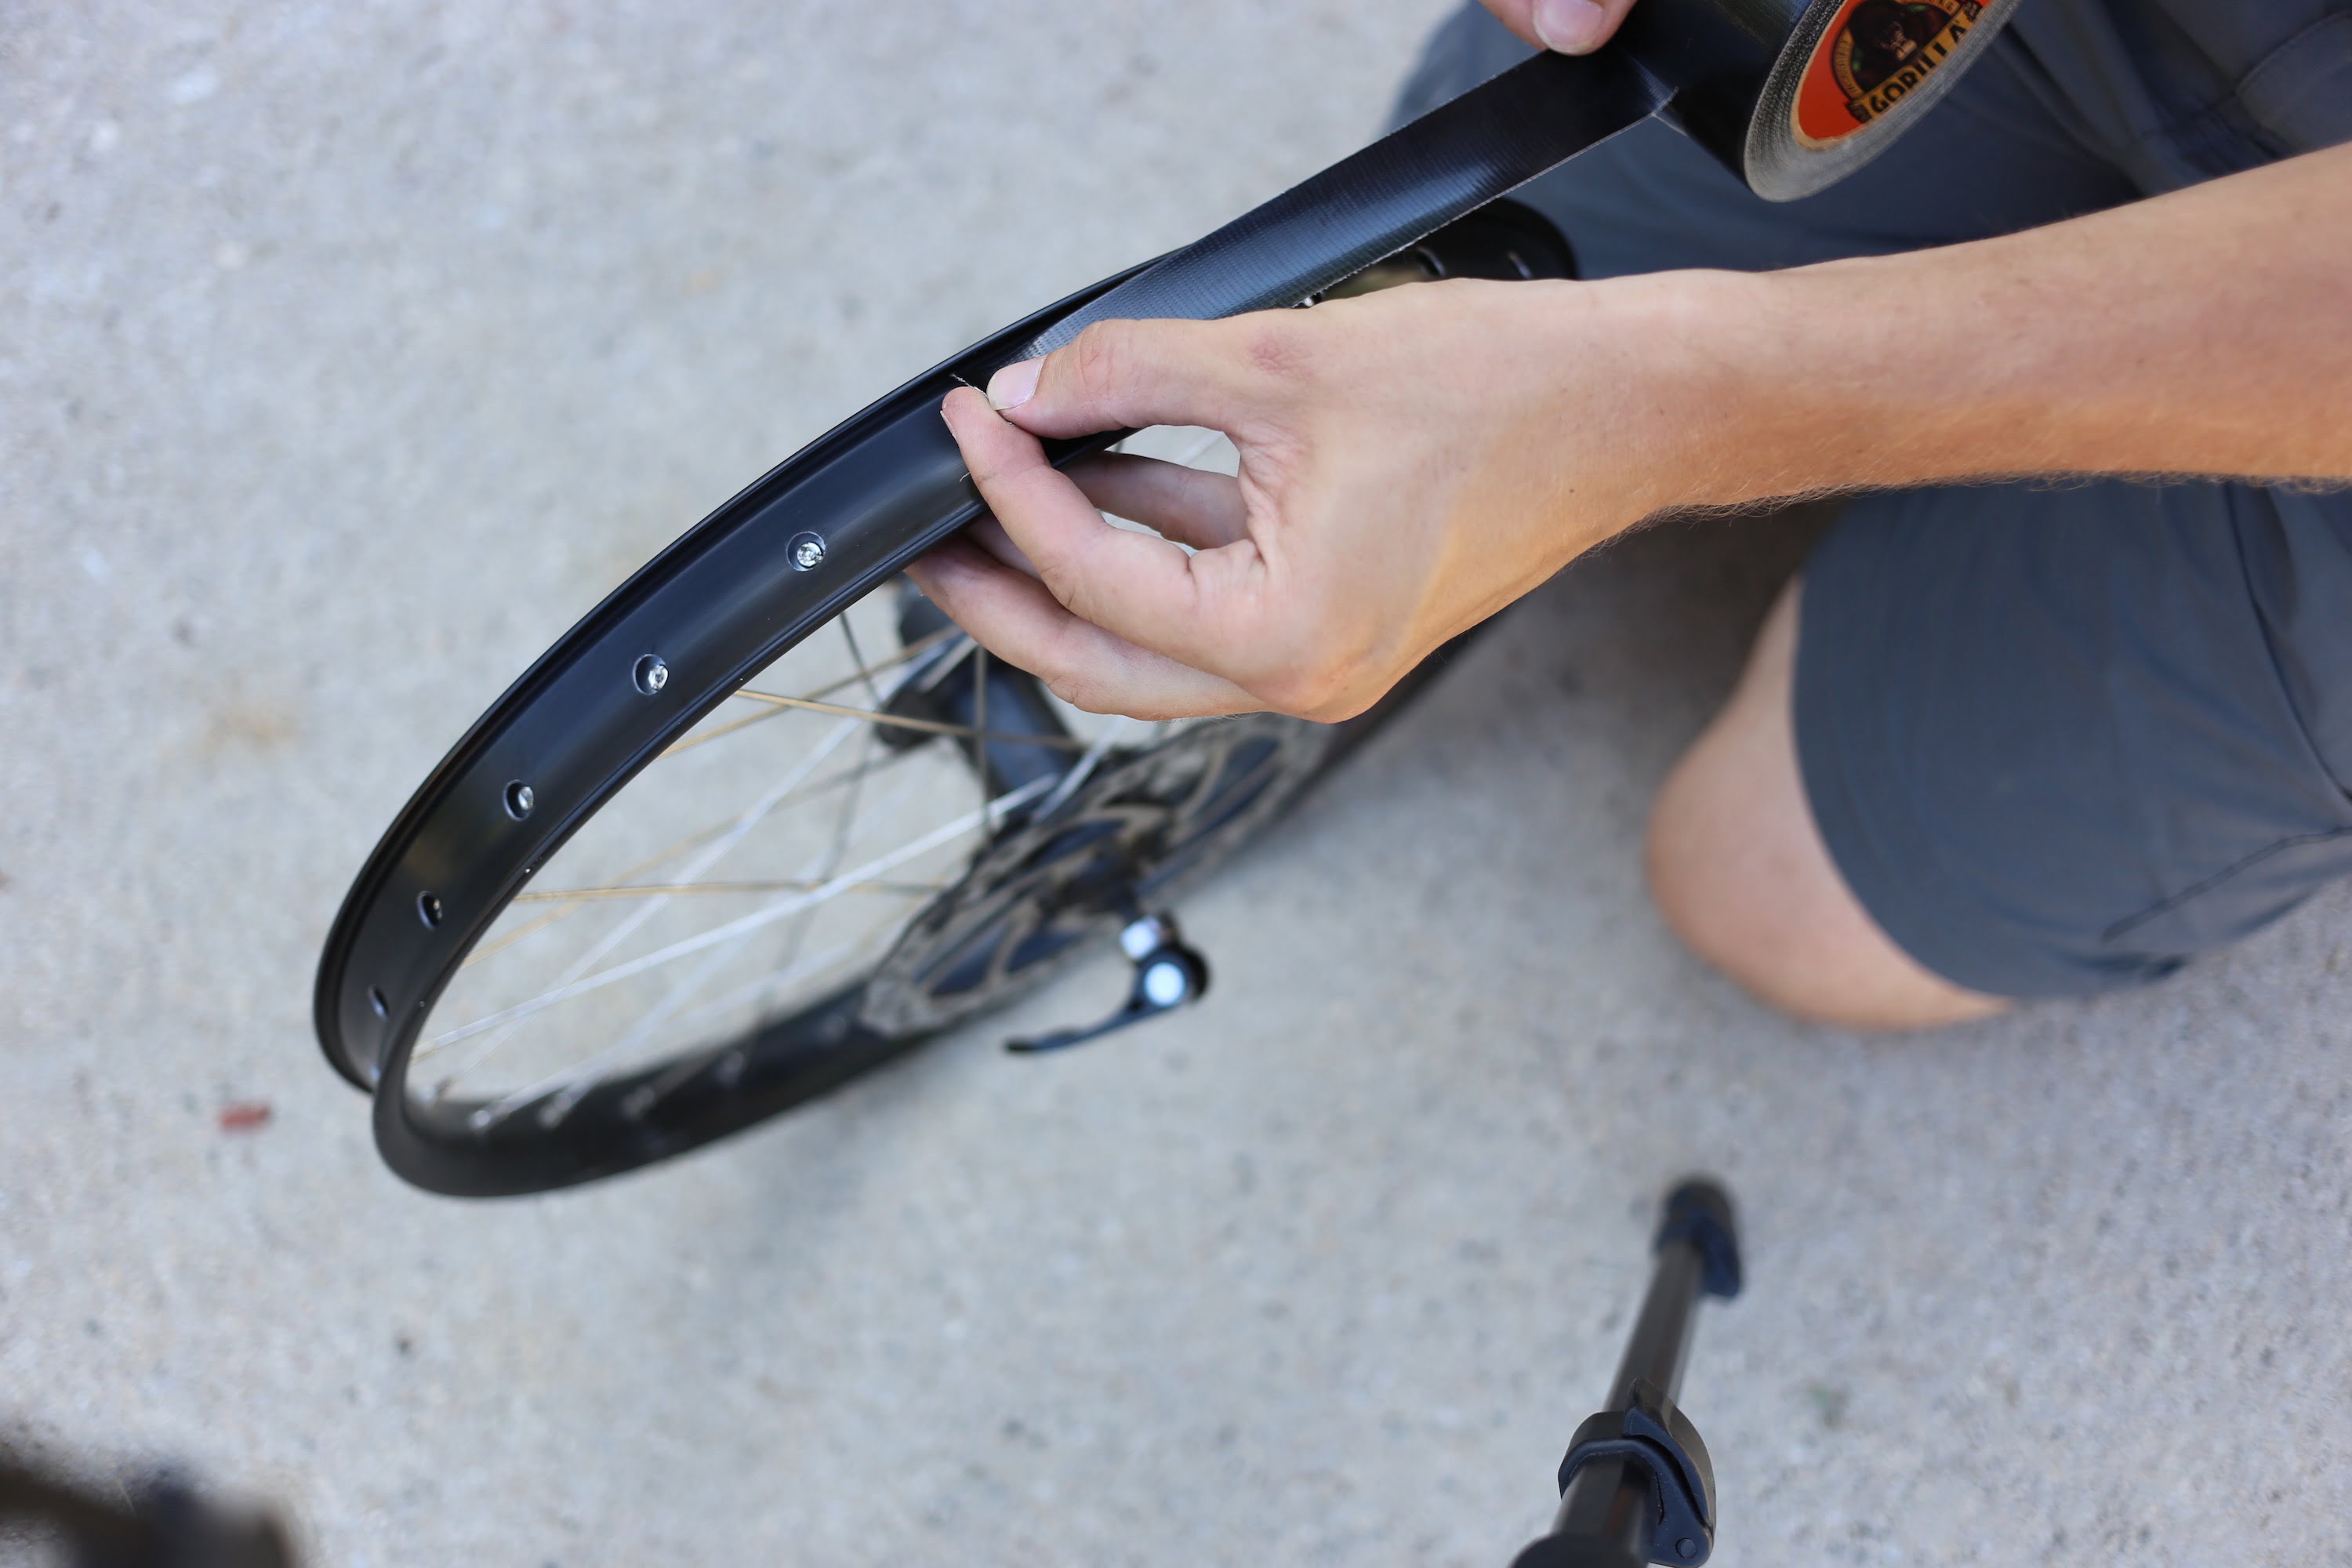
After the tape is cut we can carefully apply it to the rim, smoothing and pressing it down as we go. Some people recommend using 2 or 3 layers of tape. I used only one and everything worked just fine.
4. Insert the Valve Stem
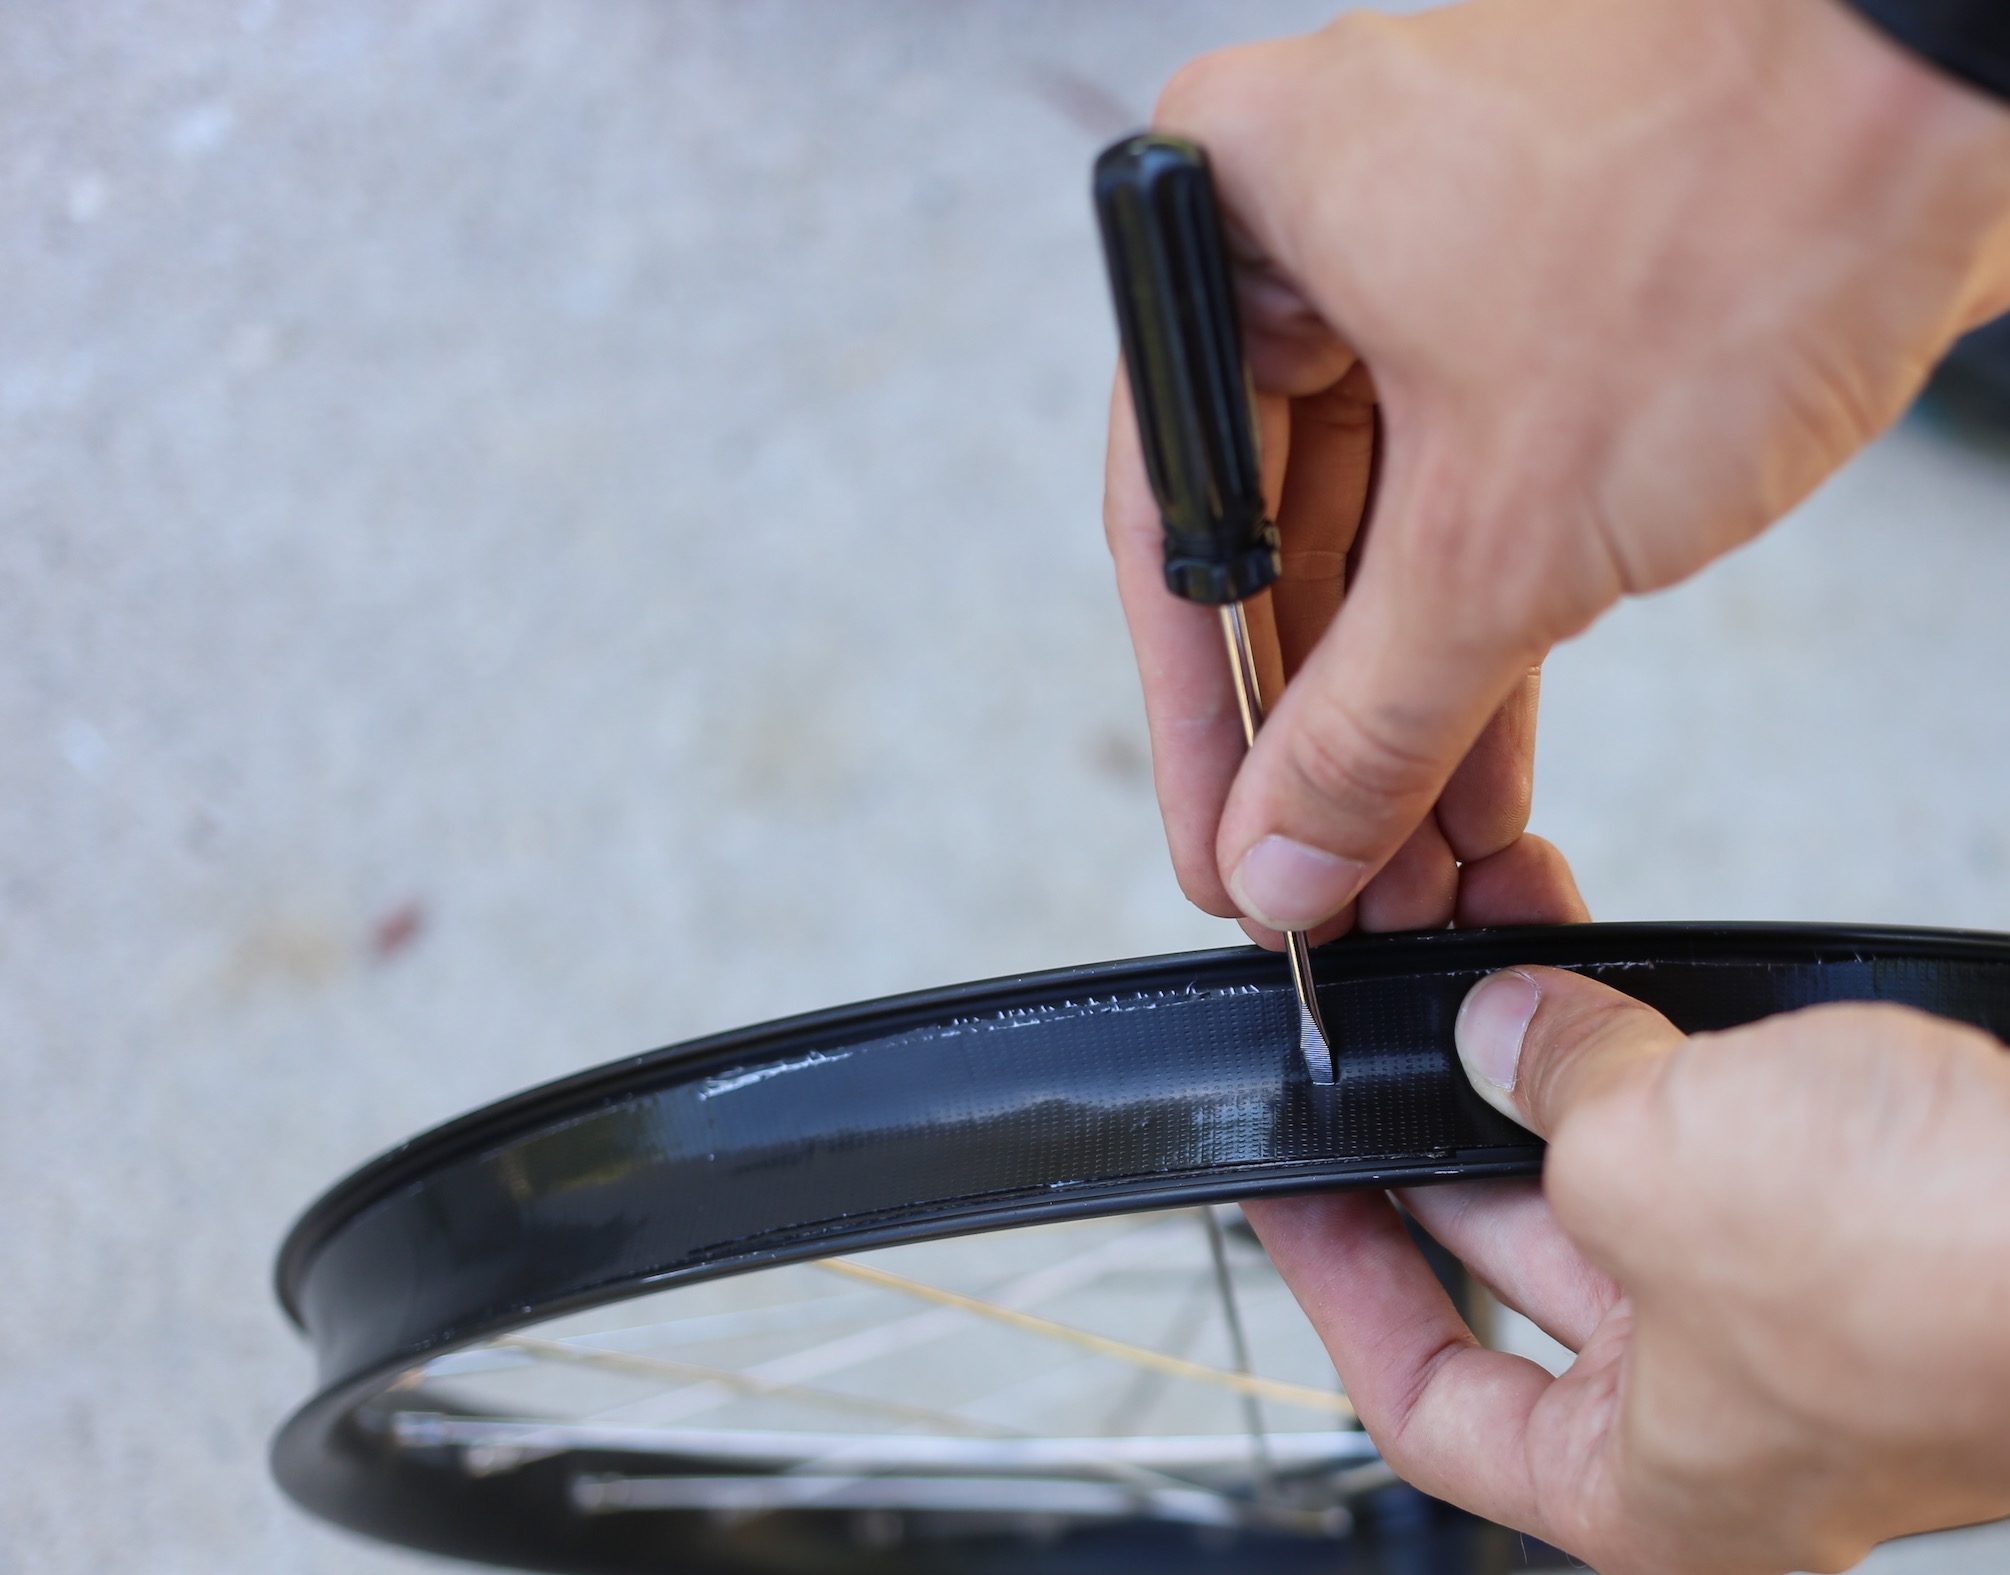
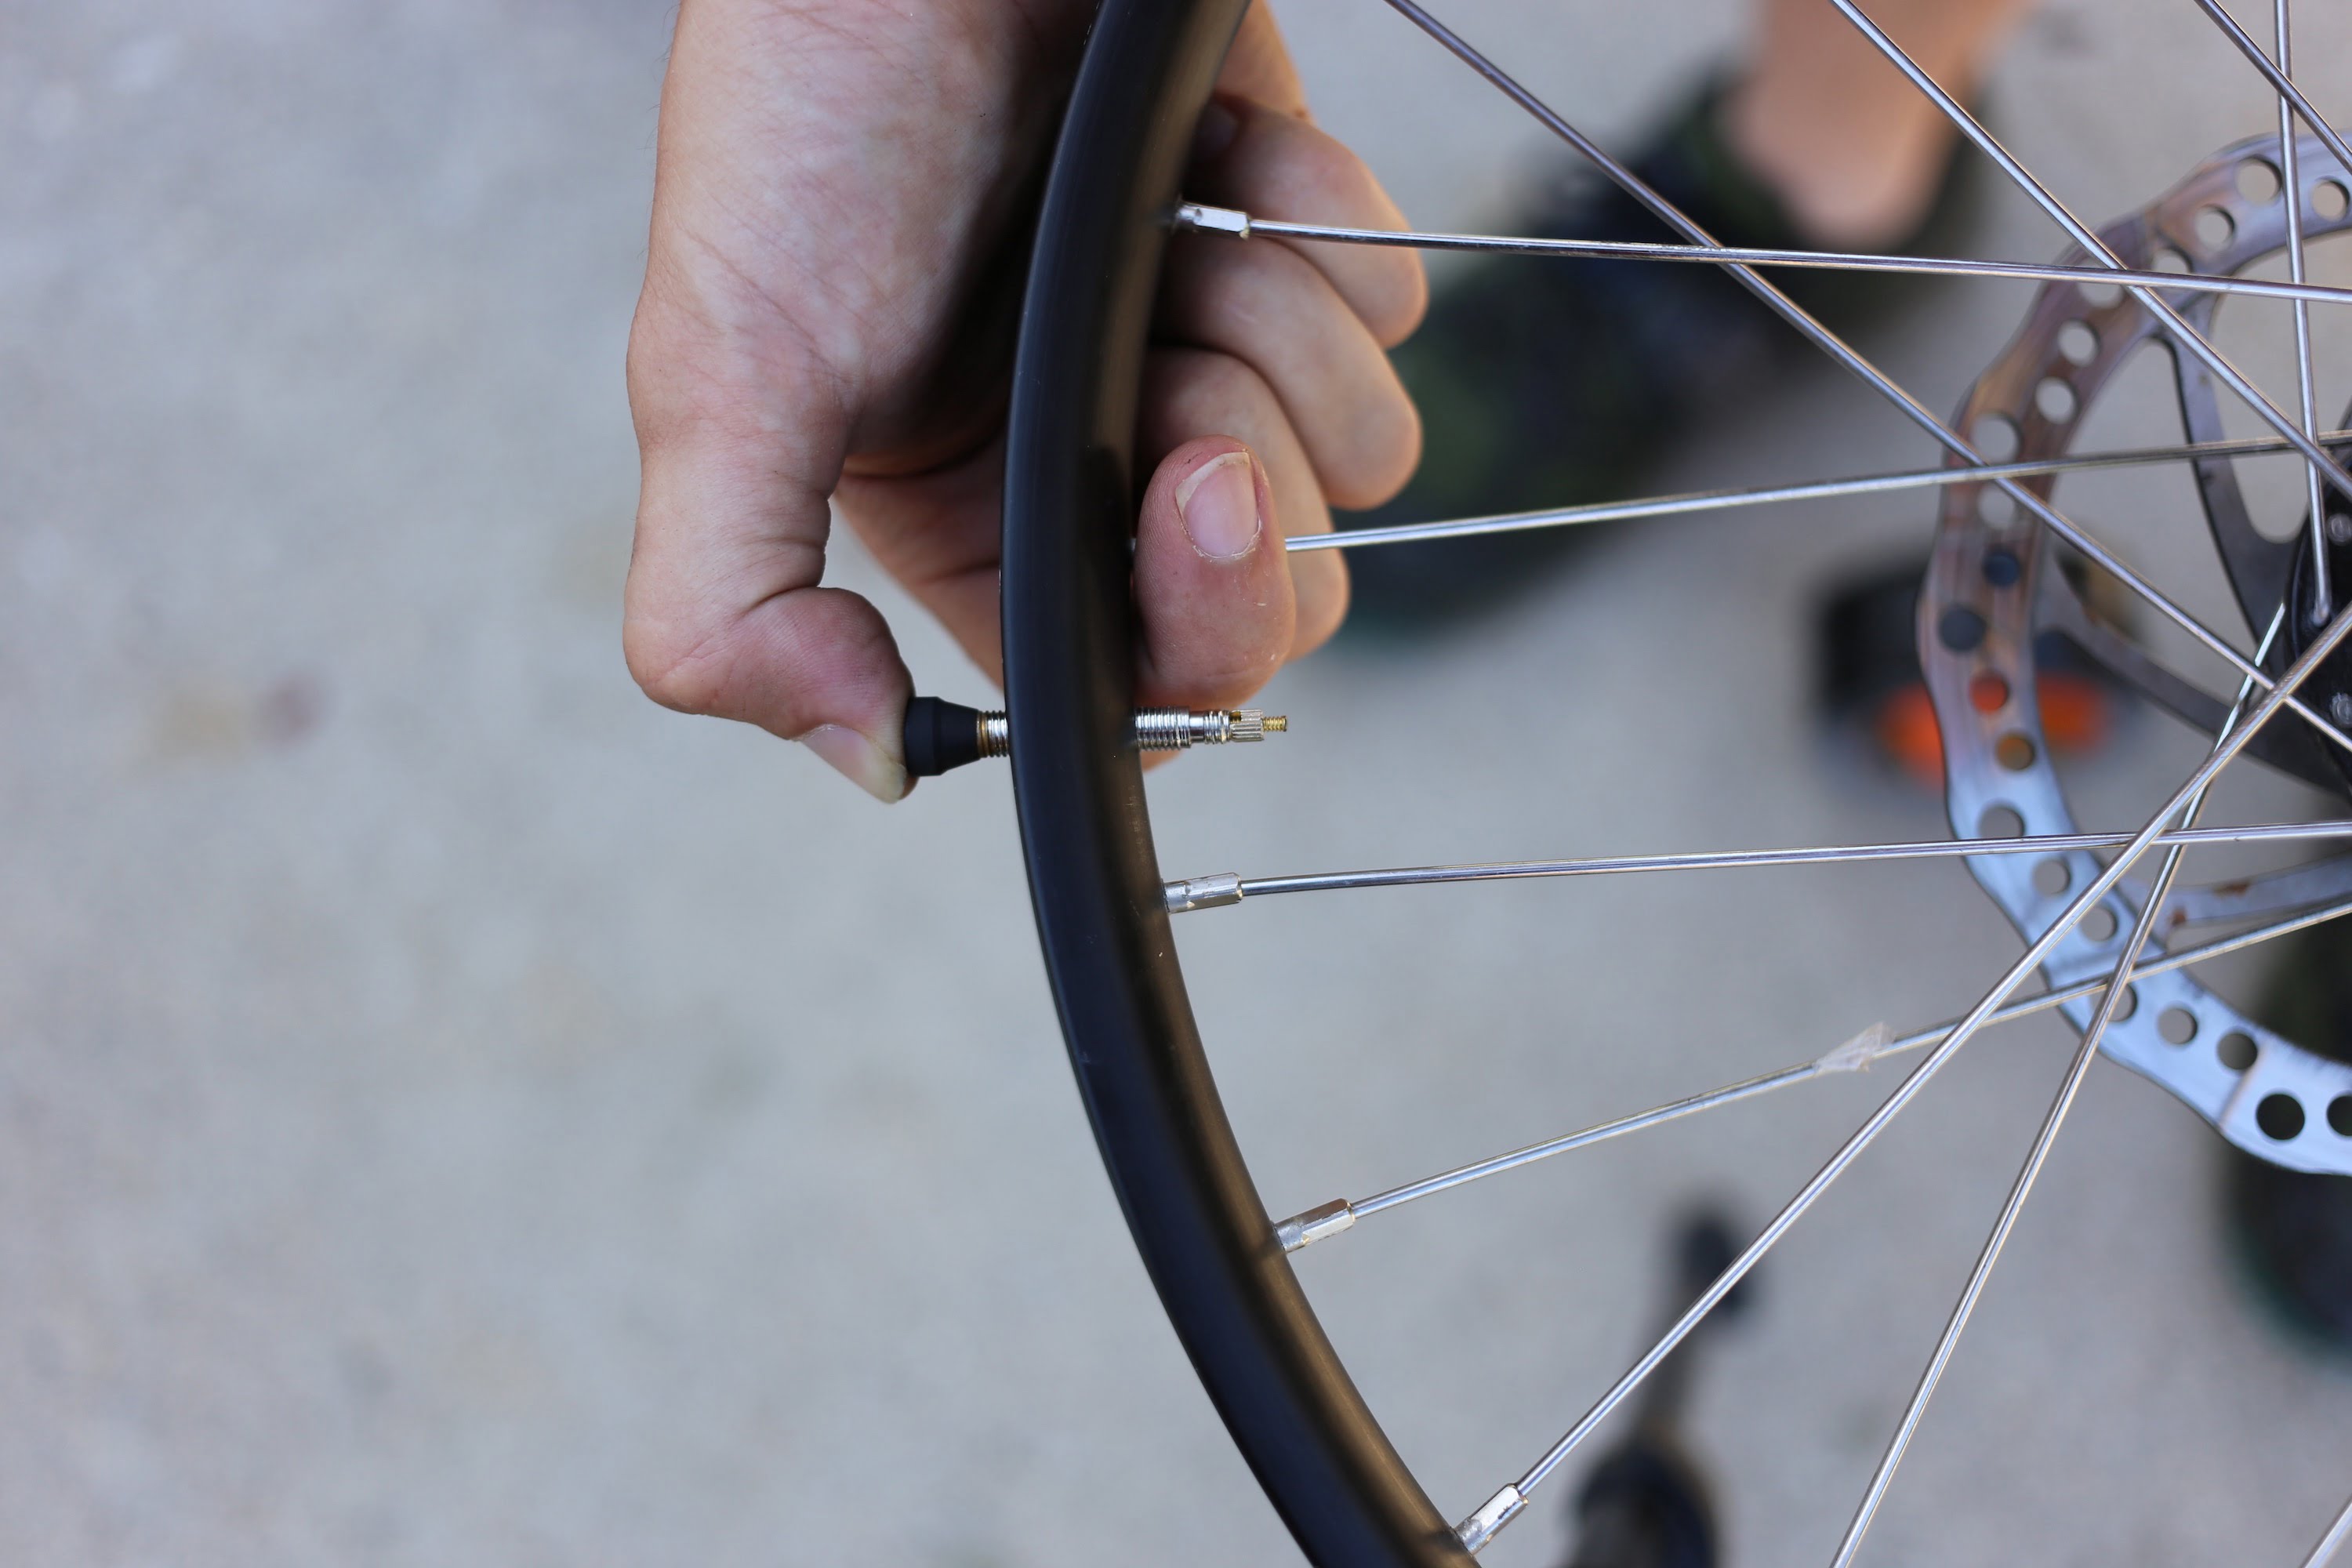
Once the rim tape is applied we can insert the valve stem. First, make a pilot hole for the valve stem with a screwdriver or awl. Be careful not to make this hole too large as we want the bottom of the valve to seal up well against the tape.
After the pilot hole is in place, you can remove the locking ring from the valve and insert the valve into the rim. Once you have the valve stem on you can tighten down the locking ring onto the valve. You will want this locking ring to be tighter that what you would do for a tube because the locking ring is the only thing holding the valve in position. I used a pair of pliers to ensure it was good and snug.
5. Reinstall the Tire
At this point you can go ahead and reinstall the tire on the rim. Once you have the tire mainly seated on the rim, go ahead and use an air compressor to air up the tire and get the tire beads to seat before adding any sealant. You’ll most likely hear a distinctive “pop” as the bead seats. We use an air compressor for this step as it allows a greater volume of air to be added to the tire quickly in order to get the bead to seat properly. At this point you can also check for any major leaks. The tire will most likely have some leaks but at long as it holds a bit of air you can proceed to the next step.

6. Add Sealant
Now comes the fun part. I’ve seen a lot of demonstrations of tubeless conversions that involve trying to pour sealant into the tire with one bead broken off the rim. I don’t understand why anyone would do this. Instead we’ll use our handy Park Tool valve core remover to quickly remove the valve core. You’ll want to deflate the tire before doing this if it is still holding pressure. The valve core remover is super easy to use. It is specially designed to engage with the top of the valve and allows you to easily unscrew the core.
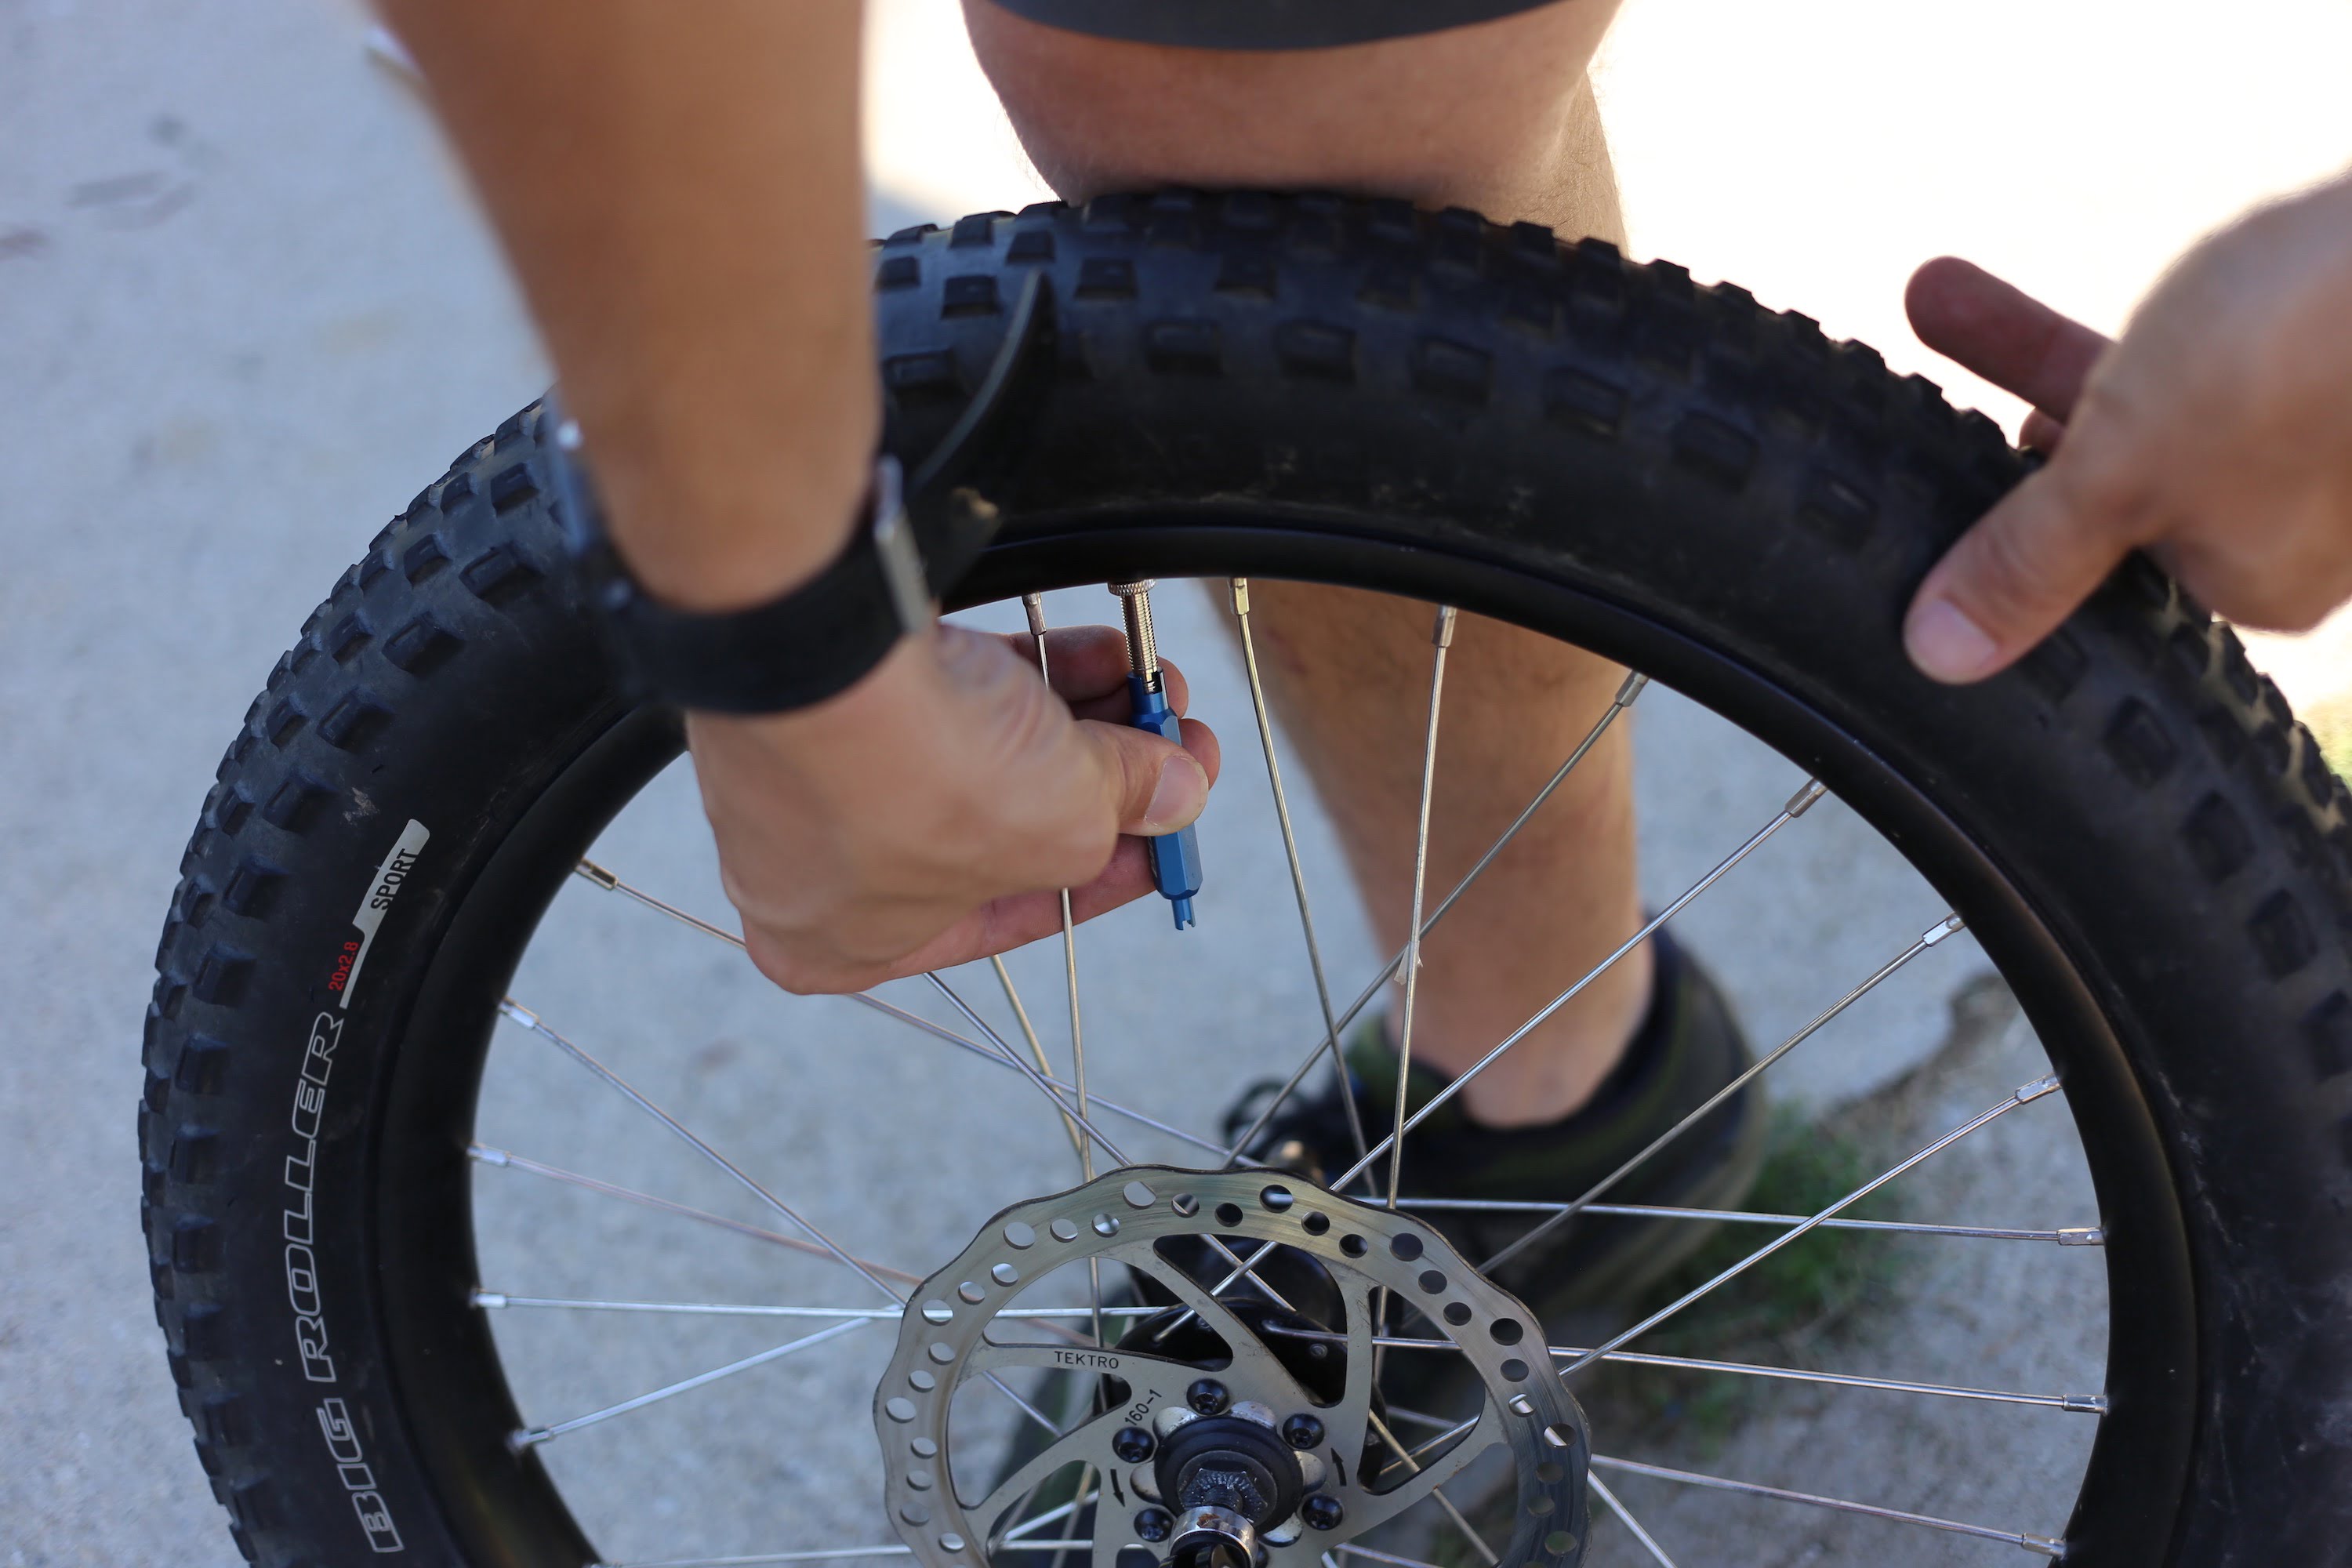
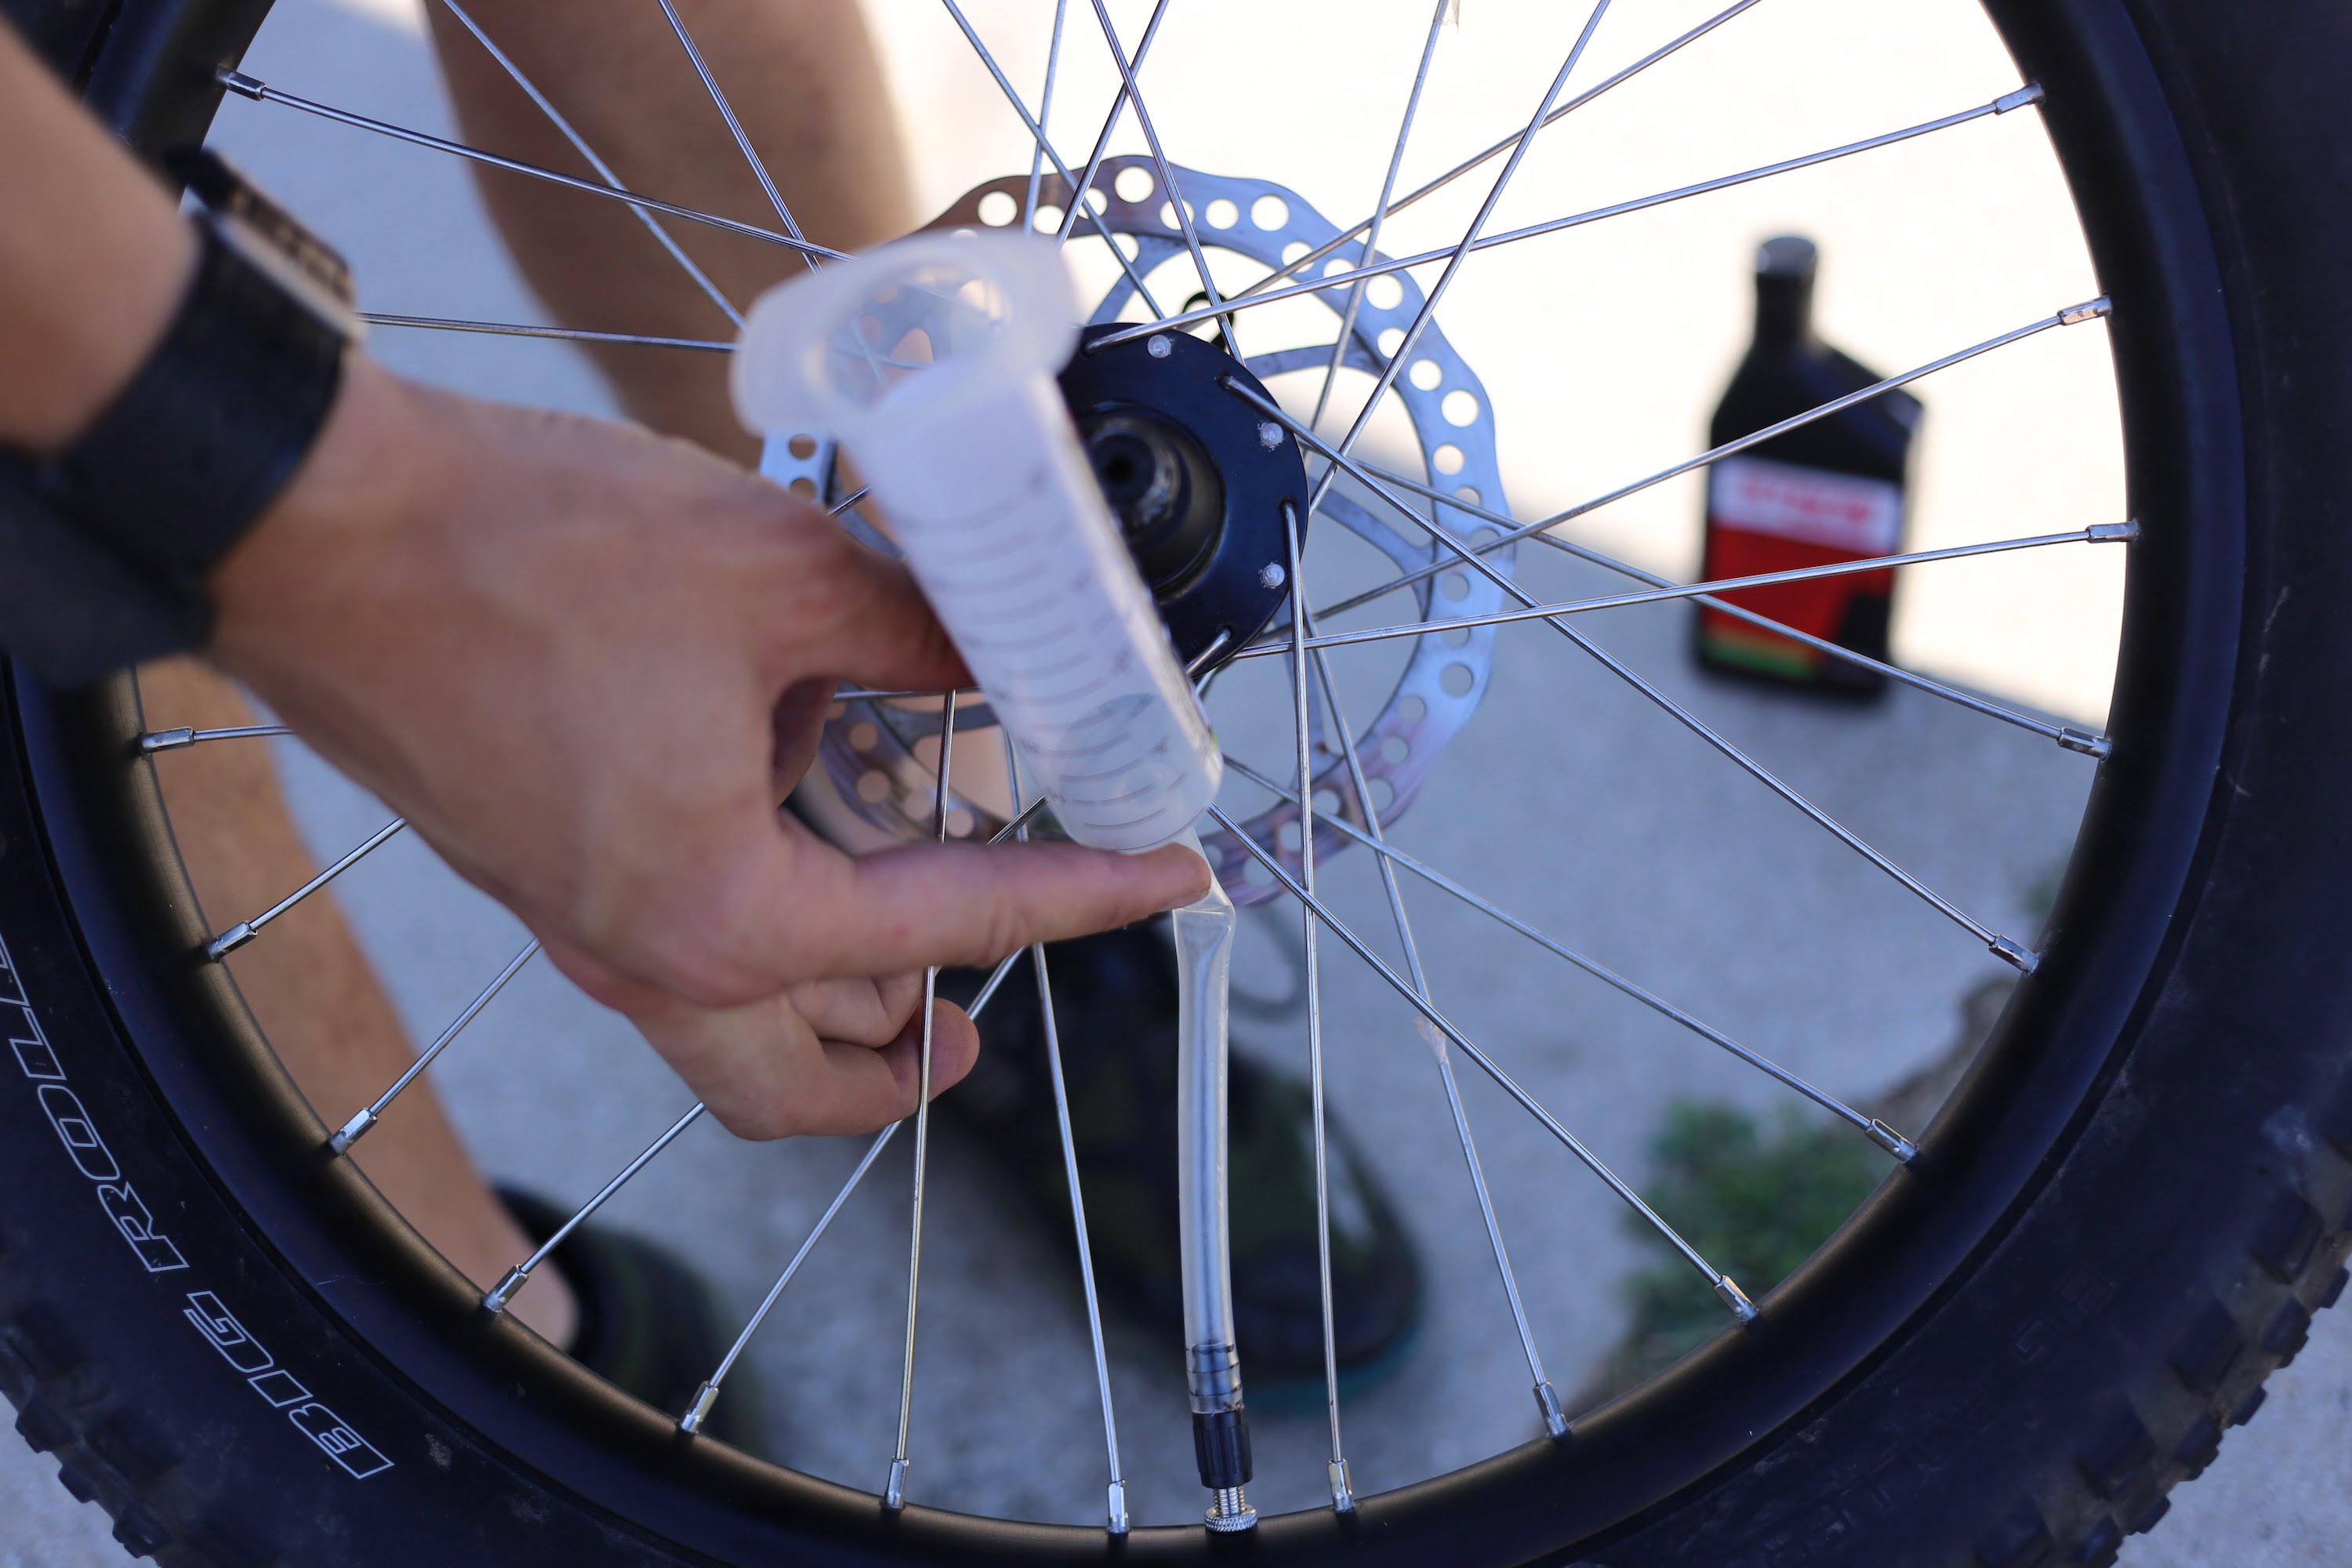
Once the core is removed, you’ll be left with the empty body of the valve with a hollow middle. You can then grab your syringe and screw the filler tube onto the valve body. After the syringe is attached fill it with sealant to the desired amount and use the plunger to force the sealant in. The amount needed will vary based on the size of your tires and the porousness of their material. For these 20in wheels, I used 1oz of sealant per wheel.
7. Shake it!
Once the sealant is in, put the valve core back in and rotate the tire to start to move the sealant around inside of the tire.
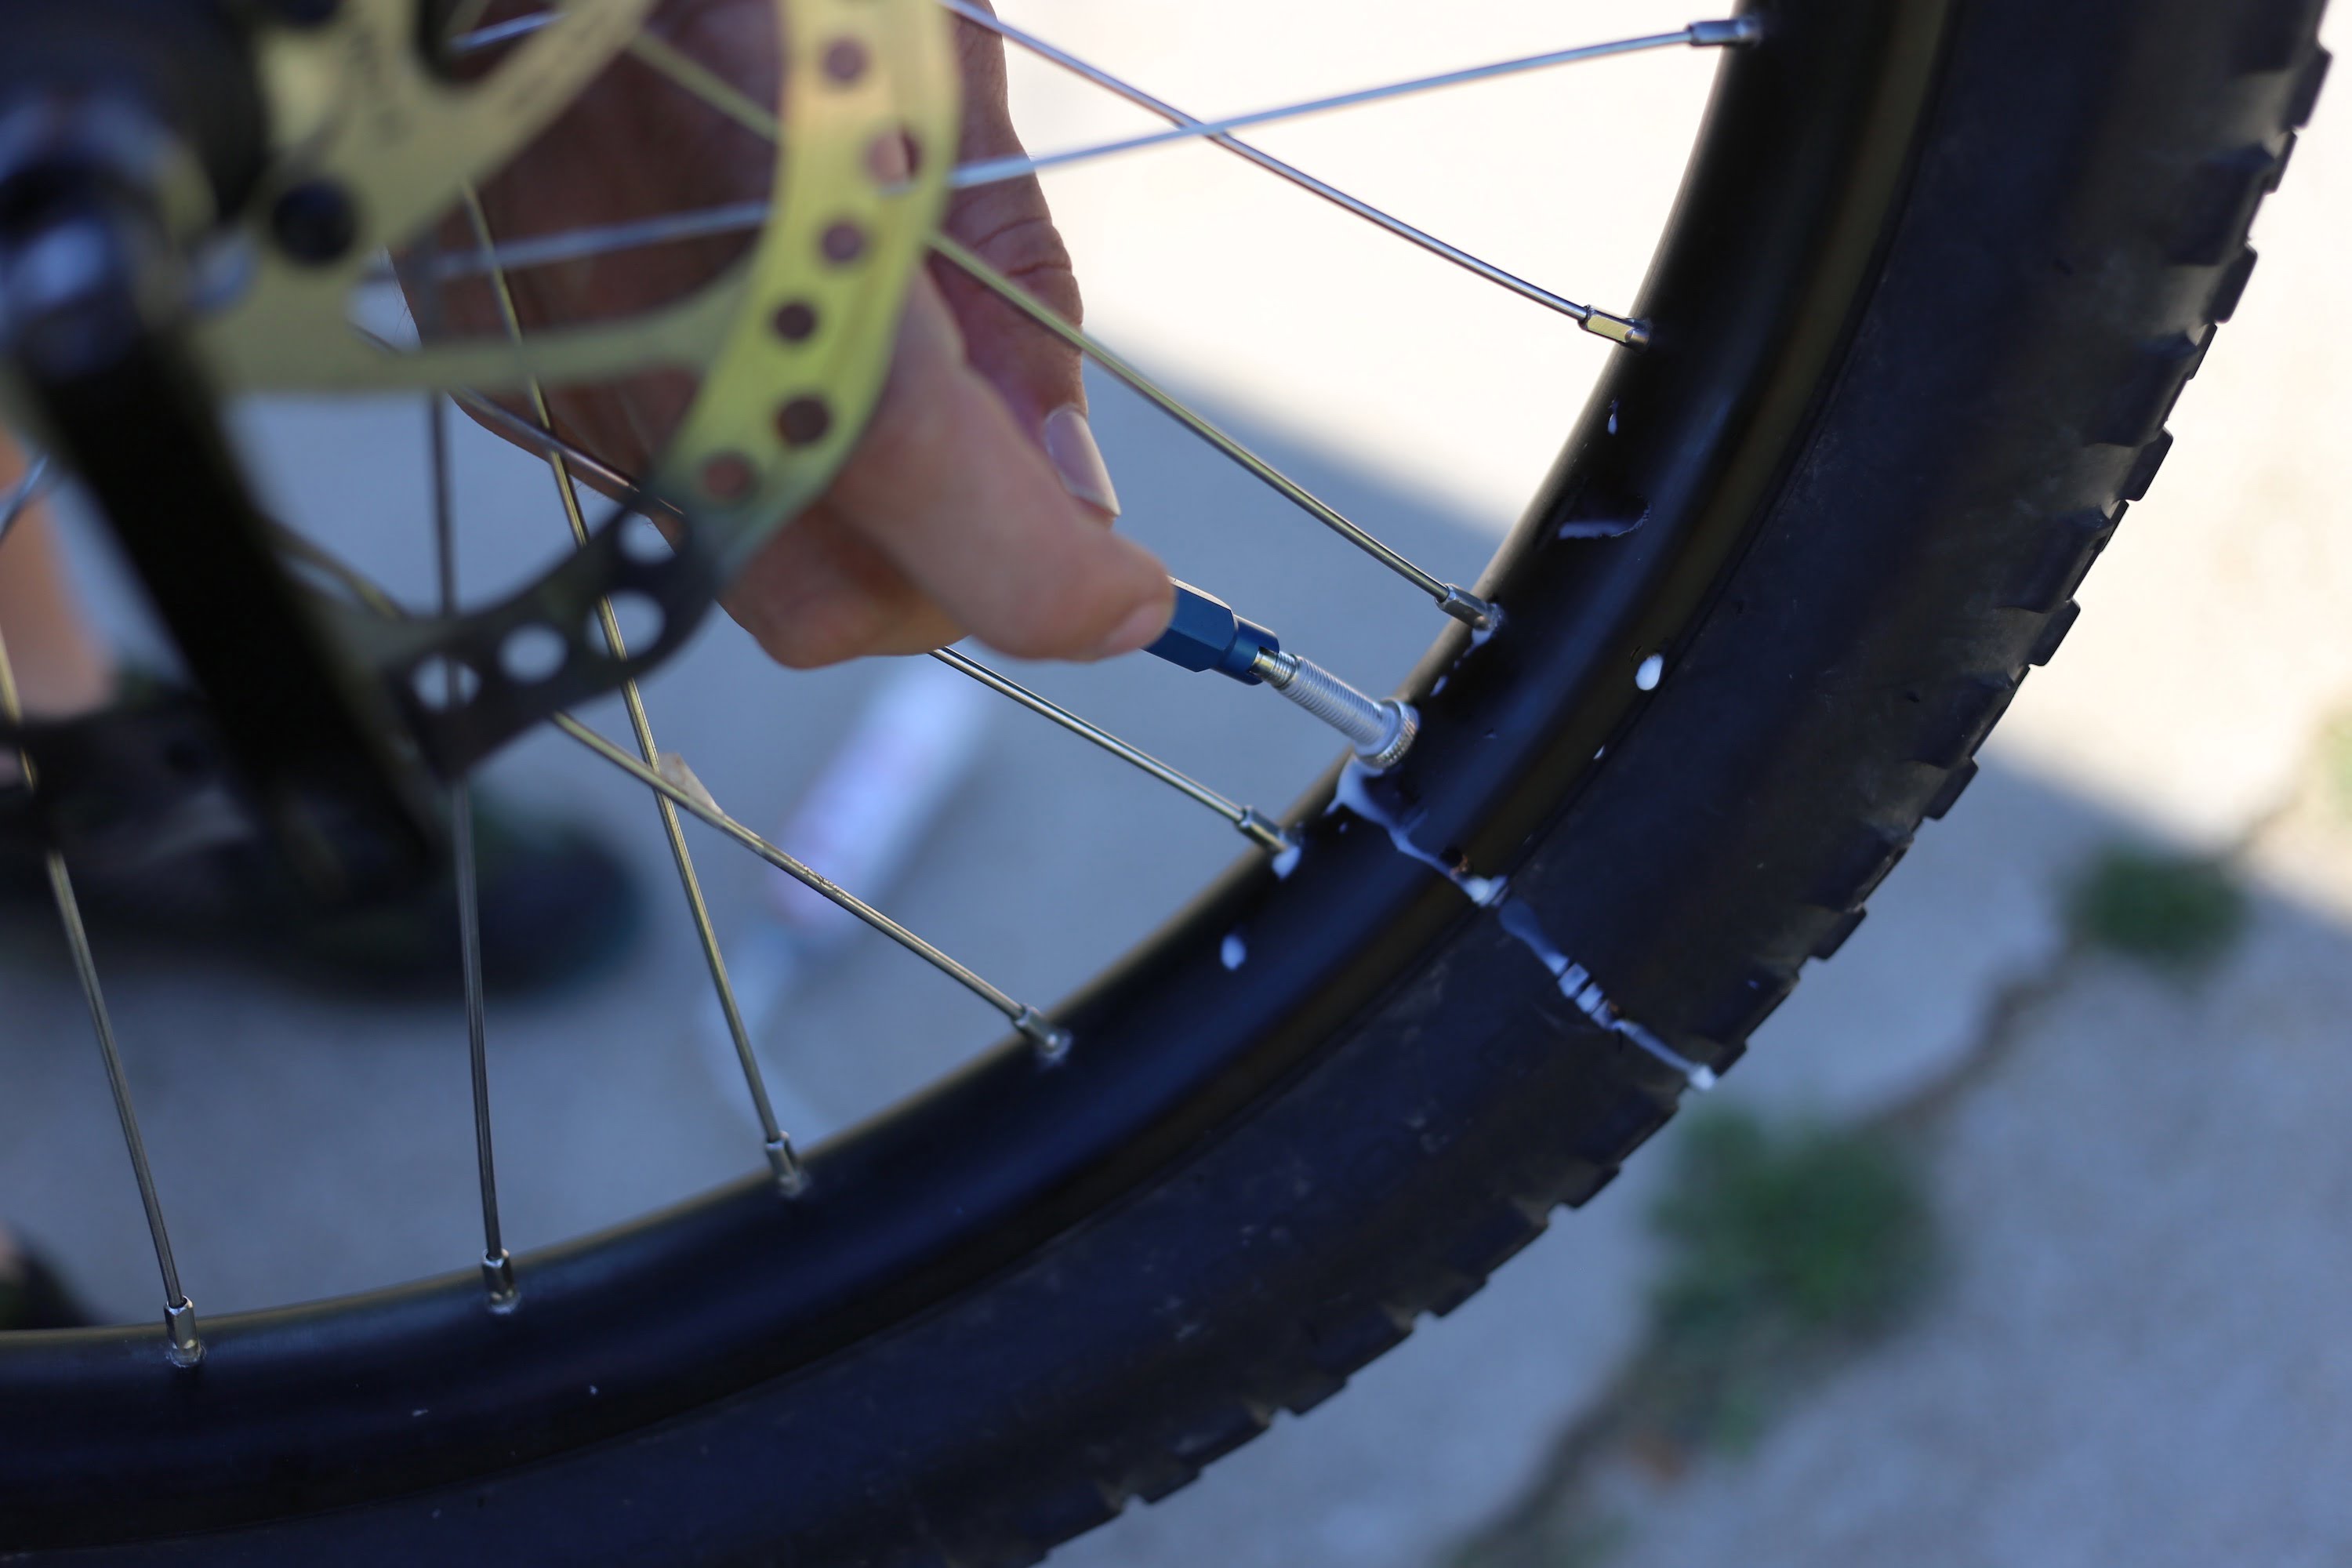
Then, air up the tire once again and start shaking that tire. This will distribute the sealant in the tire and ensure a good seal.
Your Done!
Reinstall the wheels on your bike and you are ready to rock and roll. I always carry one spare tube with me when I’m running tubeless so if I do have a catastrophic failure I can put a tube in and be on my way. Luckily after completing this process, you’ll have two spare tubes ready to serve as backups!



Thanks for the informative write up! Have the same bike for my six year old. He’s also converted to tubeless. Question: What pressure (front/back) is your little guy running? Thanks!
jomaset
He’s running about 10psi I think. We’ve gotten into the practice of adjusting the pressure regularly based on conditions, just like you would on a big plus bike 🙂
Thanks for the response. Yeah, we’ve settled on about 10-12 depending on conditions after a couple of rides. Nice to know we were in the ballpark. Thanks again for the write-up. My boy has enjoyed watching your son ride and has even picked up a few tips by watching. If you or your son are so inclined, you can check out his first ride on youtube under the “Sons of Thunder MTB” channel. Keep the rubber side down!
jomaset
Thanks for the post. I am looking at getting my 8 year old a riprock 24. i talked to the sales guy at eriks yesterday who said that the tires aren’t tubeless compatible. i asked him what that actually meant and he had no idea. a few questions 1. just to clarify, you used the stock tires, right? 2 the rims are drilled for schrader valves, the replacement stems are okay with that? 3. i’ve only done one tubeless conversion and i used yellow tape. wondering why you prefer gorilla tape instead of the yellow tape? thanks! kevin (in madison)
Hey Kevin, thanks for the question. Yes these are the stock tires. The Erik’s guy is right they aren’t technically tubless rated. But they work fine. I used presta stems and they worked fine. Stan’s also sells shrader stems that might fit even better. I’ve used those on another tubeless conversion. I’ve had good success with gorrilla tape, pro mechanics I’ve talked to prefer it and it’s easy to source!
Thanks for the details. two follow up questions. 1- did your riprock have a spring fork? if so, i’d be interested in hearing your thoughts. my daughter is light (45 lbs) and i think the spring fork on the base model is going to act as a heavy rigid fork for her weight. one option is to upgrade to the comp (with an airfork), the other is to go rigid like the trek roscoe 24″. i’d go rigid for her at this point with the plus tires, but she’d like a suspension fork, and sometimes perception is more important than a few pounds of dead weight. (my daughter rides like your kid did when he was 6.) 2 – if you still have your riprock 20, are you interested in selling it? my daughter is outgrowing her 20 inch but the riprock 24 is a touch large (because of the plus tires, she’s only 50″ tall). i’m tempted to get the riprock 20, but since she’ll outgrow in a a few hours, so i’d rather not buy a new one! thanks agian. kevin
Yes it does have the spring fork. My oldest has now moved on to a 24″ Rocky Mountain Vertex which has an air fork and for his weight now at 7 years old the air for is superior. The spring fork on the specialized 20″ while maybe not the best or lightest does indeed work. Here’s a little video clip where you can see it in action https://www.instagram.com/p/BYBPcGvg3SP/?utm_source=ig_web_button_share_sheet
Did you use the 35mm or 44mm Revmega presta stem?
I used the 35mm version.
Which tubeless tires did you use?
You put the sealant into the tire with one bead on so if you get a small puncture while riding it will seal it on it’s own since its already in the tire.
I just bought some wheels that are not tubeless and want to give this a try. Are most whee1s that are not tubeless when you buy them workable? A1so, Instruction number 5 above… Did you put the tube on with the tire and then take it out or did you just put the tire on the rim without the tube and inf1ate it.
Thanks in advance!
Thanks for the awesome write up!
Any tips or tricks on getting the tire bead to seat with the rim? I have the same bike in the 24″ version and have been unsuccessful in getting it to seat enough to put the sealant in. The 24×2.8 tires just stay so loose on the rims and I cant get enough air pressure to pop them.
Thanks again!
I converted my daughter’s 24″ riprock following this site’s instructions. I did the following to get the tires to seat: I rubbed a bit of sealant on the rim and the bead, and then wrapped a cam strap around the tire. By putting the right amount of tension on the cam strap it helps to push the tire bead out onto the rim enough for the compressor to pop them. You’ll have to play with the tension a bit. if you have too much tension it just crushes the tire and makes the gap bigger. If there isn’t enough tension, there won’t be sufficient pressure to force the bead outward. My friend Seth taught me the cam strap trick and it works great. (btw a cam strap is something like this: https://www.rutabagashop.com/nrs-baga-boat-straps) Good luck!
I just want to clarify, the rims used are not tubeless ready, right?
It works?
thanks for this
The cam strap made it work for me with Riprock and Big Roller 24″x2.8. So good!